
How to create Halftone Effect in Adobe Illustrator ?
Learn how to create halftone effect in illustrator
To learn how to create Halftone effect in Adobe Illustrator follow the steps below and watch the video tutorial.
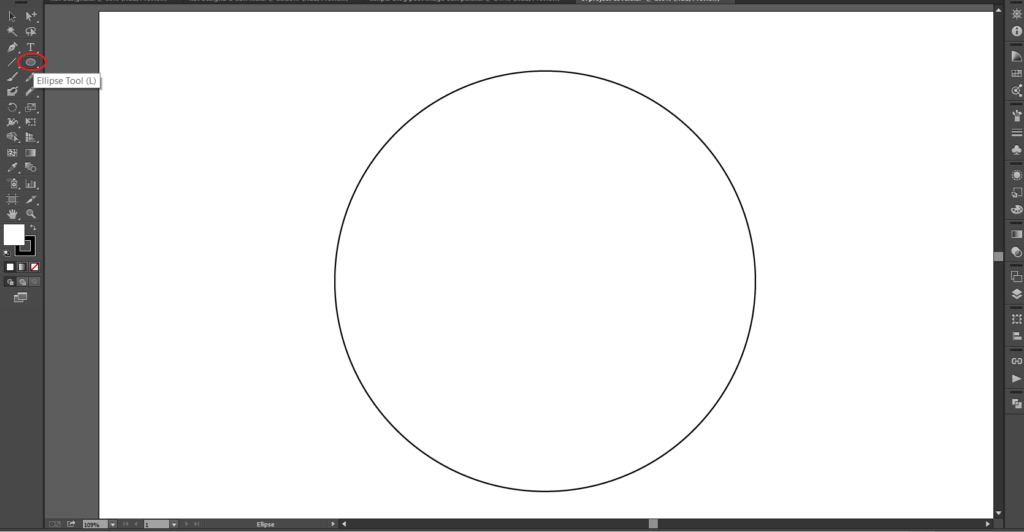
STEP 1
Create a new document. Select the Ellipse tool (L) and draw a circle (Hold shift key while use the Ellipse Tool to draw a perfect circle).
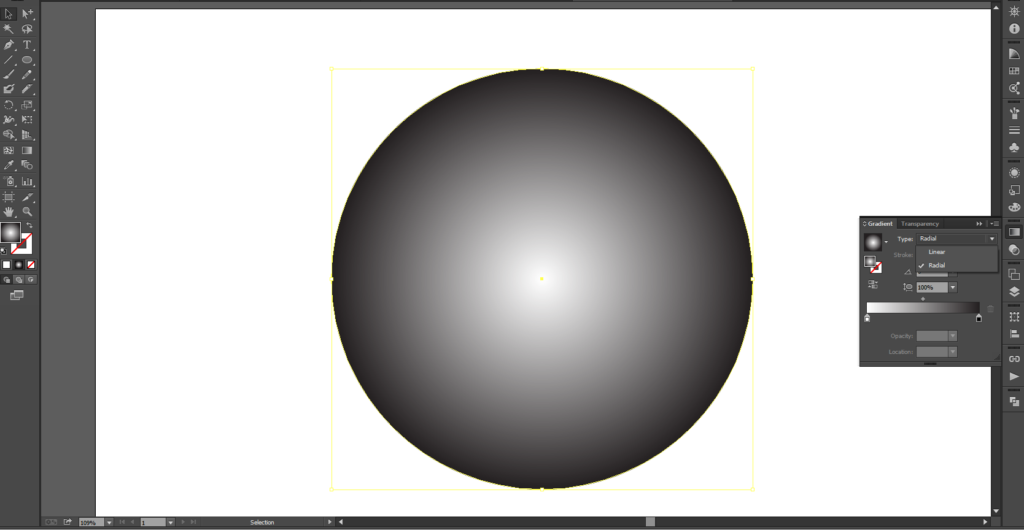
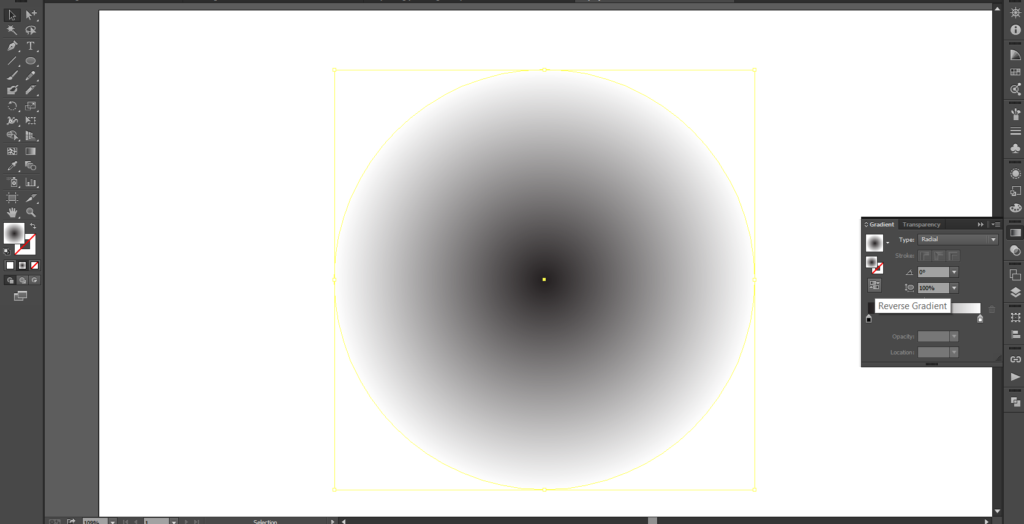
STEP2.
Fill the circle shape with gradient colors. Select gradient Type as Radial. Keep dark color in the center area and surrounded by the light color. Select the Reverse Gradient option if necessary.
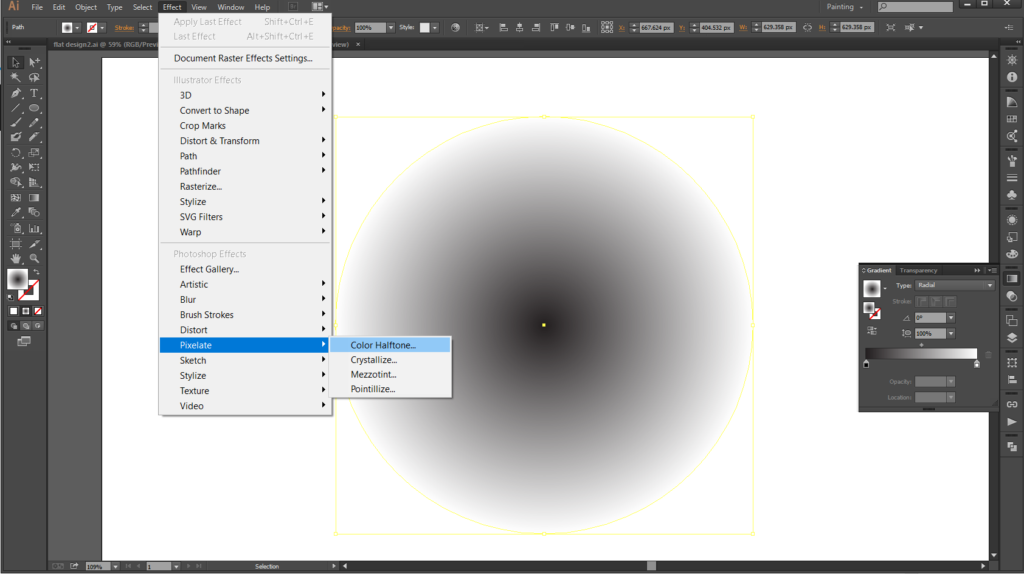
STEP3.
Select the circle shape and click on the Effect ->Pixelate ->Color Halftone
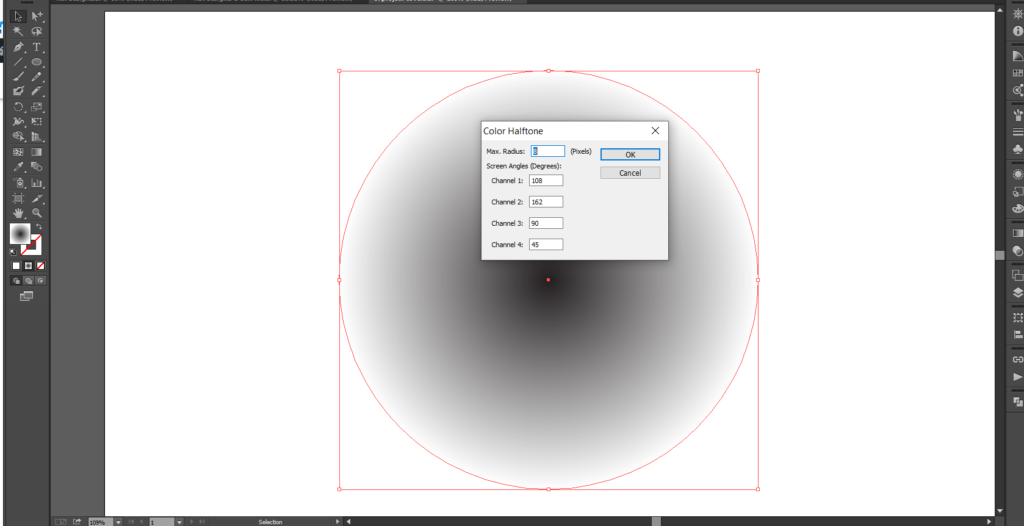
STEP4
Change the max. Radius number as you like. In here I change it in to 80 pixels.
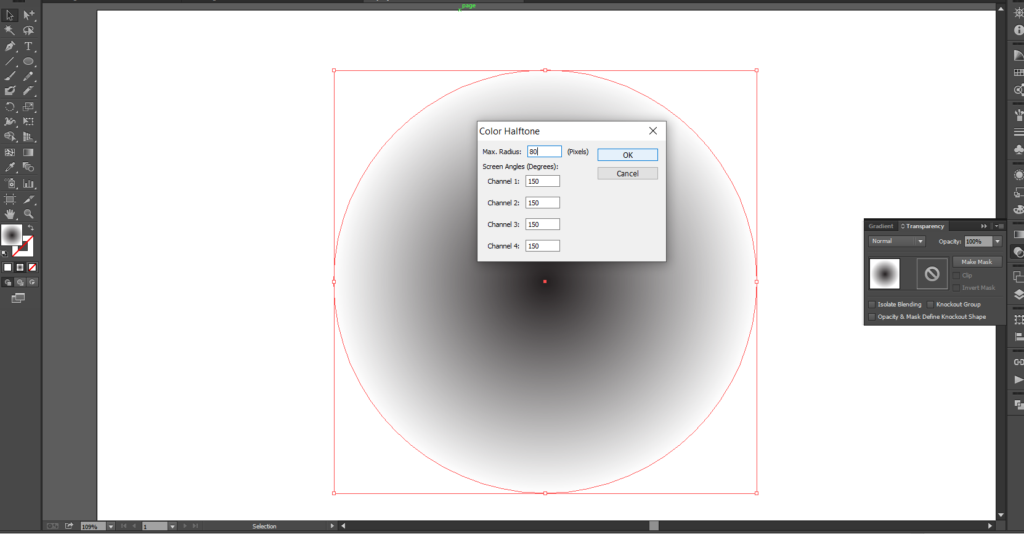
STEP5
Change Screen Angles in to same numbers and click Ok button.
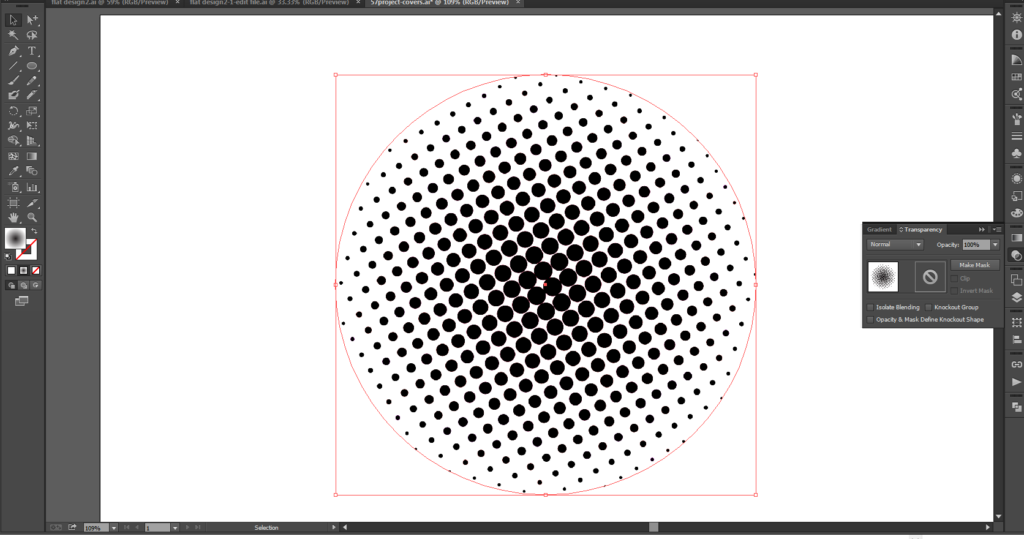
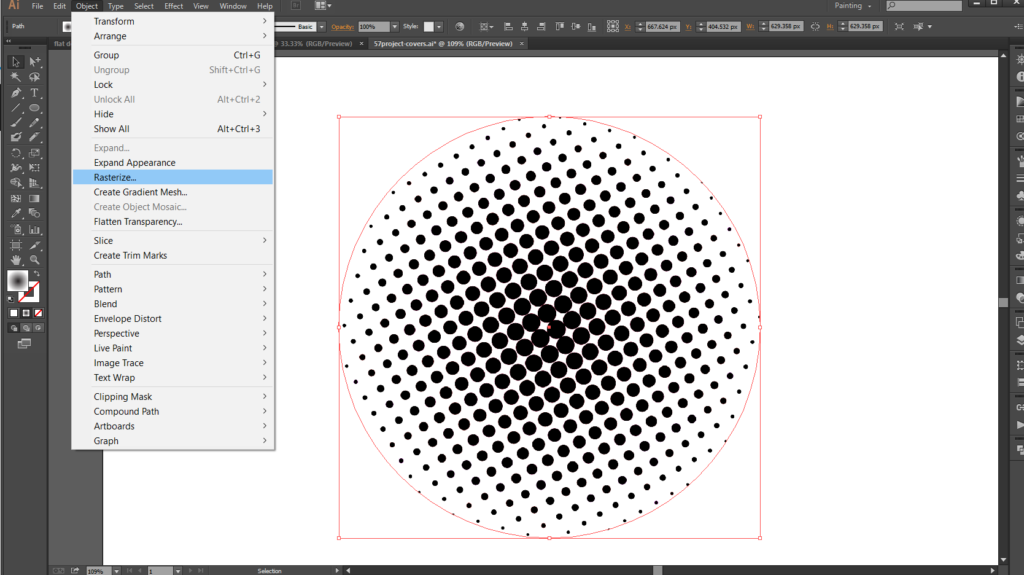
STEP6
Select the circle shape and click on the Object ->Rasterize…
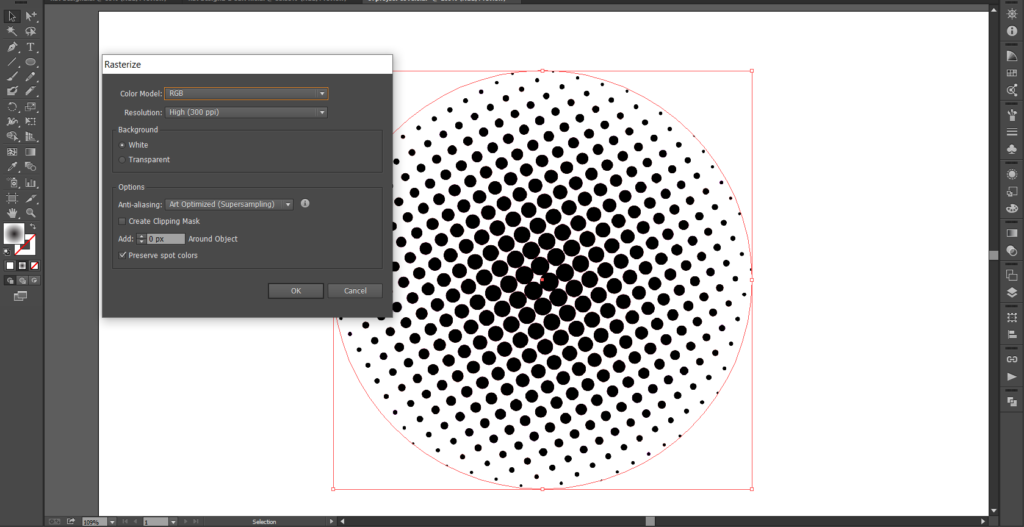
Click OK button in the Rasterize dialogue box.
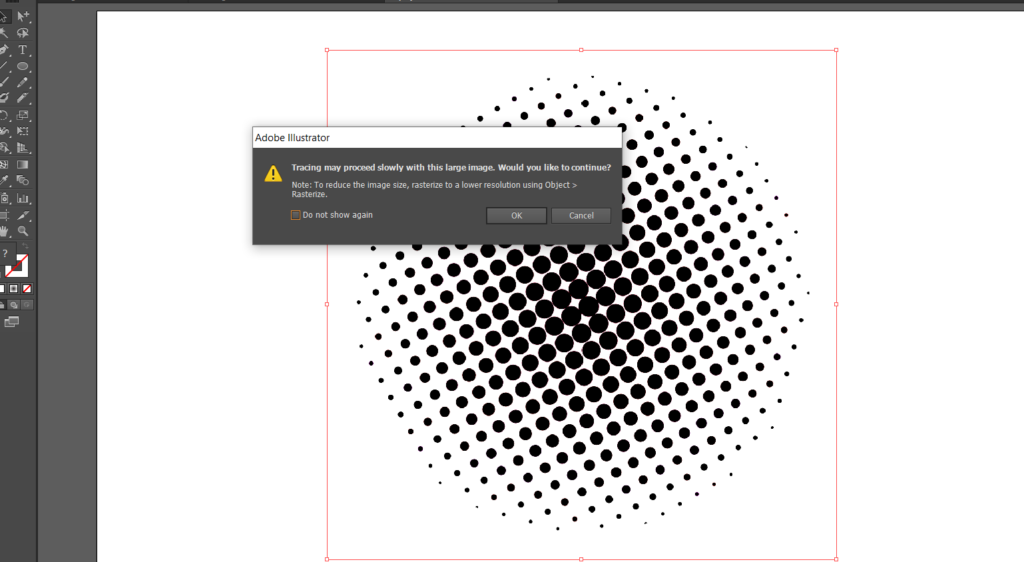
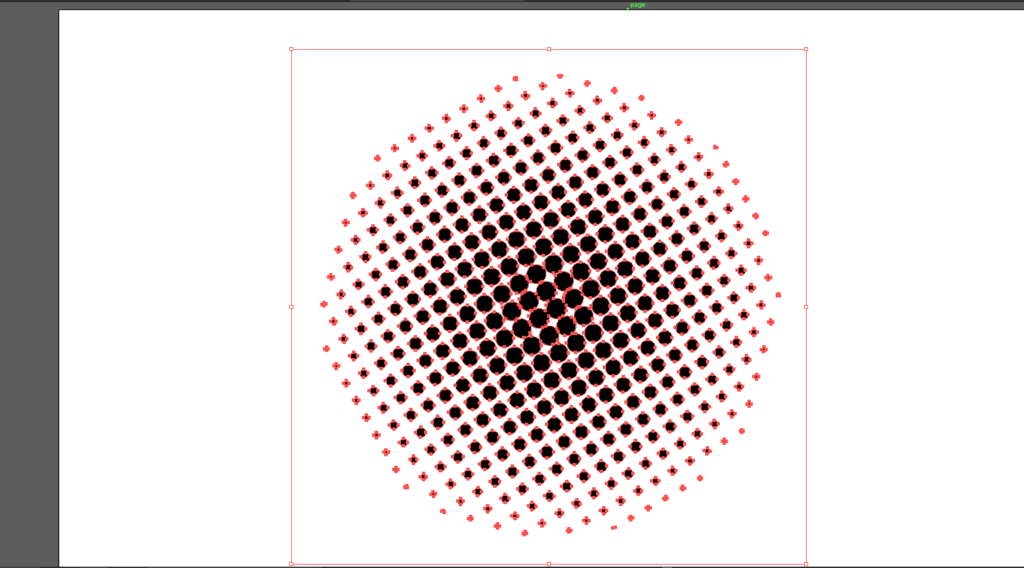
STEP7
Select the circle shape and go to Object ->Image Trace -> Make and Expand…
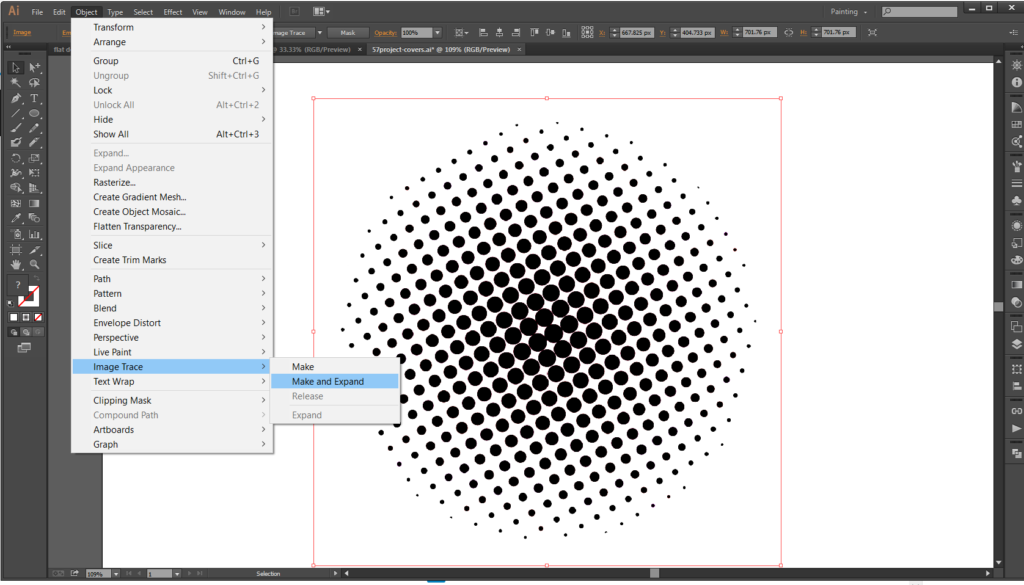
and click OK button.
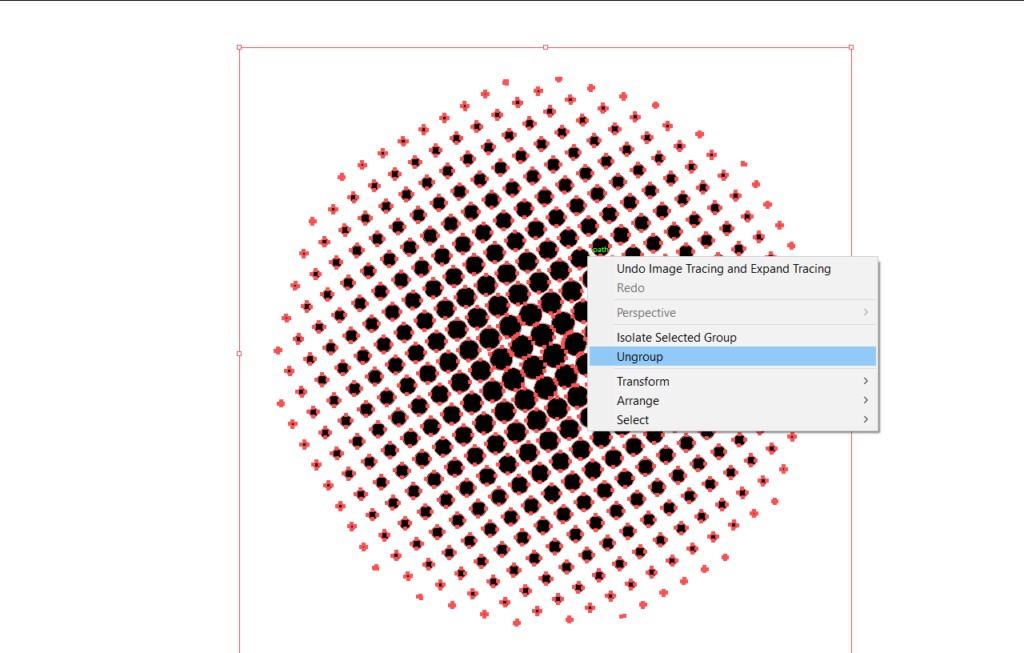
STEP8
Select the expanded object and right click and select ungroup.
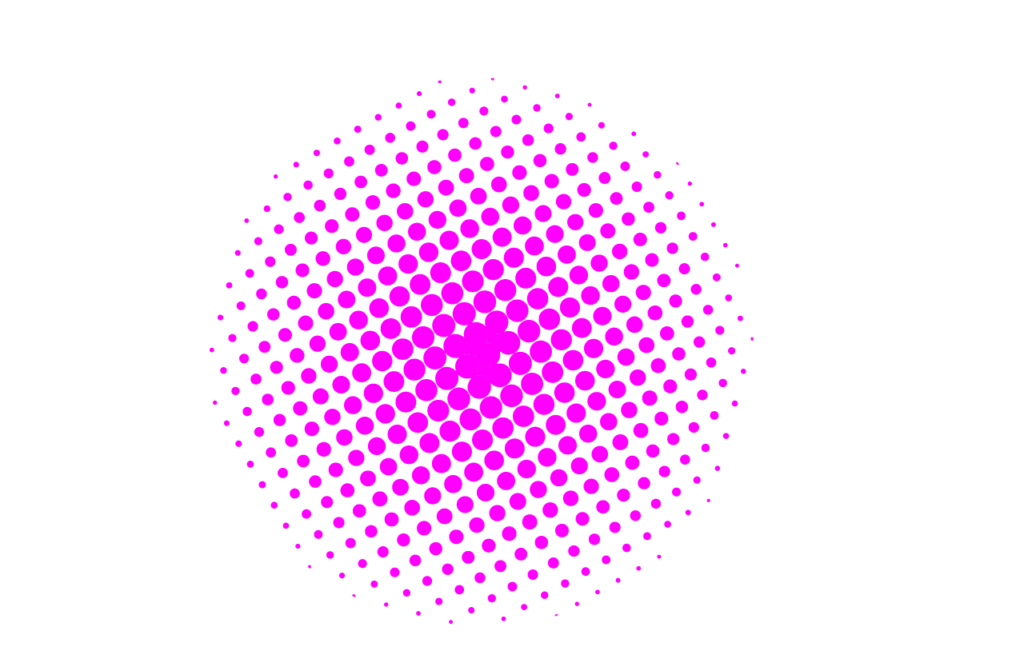
STEP9
Select white space by using the Magic Wand Tool (Y) and delete the white spaces. Change the color.
Watch also the video tutorial:
★✿ Where are to find me : ★✿
https://www.sanpls.com
https://www.fiverr.com/sanpls
○ ★ ✿ Or Social Media ✿ ★ ○
★✿ instagram(@sanpls_illustration) | https://www.instagram.com/sanpls_illustration
★✿ twitter(@sanpls) | https://twitter.com/sanpls
★*✿ facebook | https://www.facebook.com/sanpls
○ ★ : * .⚬。✿.○ ★ : * .⚬。✿.○ ★ : * .⚬。✿.○ ★ : * .⚬。✿